Colored pencils can add warmth, softness, and a little more personality to a portrait. Used well, they do not shout over the drawing; they quietly help the eyes look alive and the skin feel less like a flat patch of paper. Think of them as the polite guest at the party who somehow makes everything better.
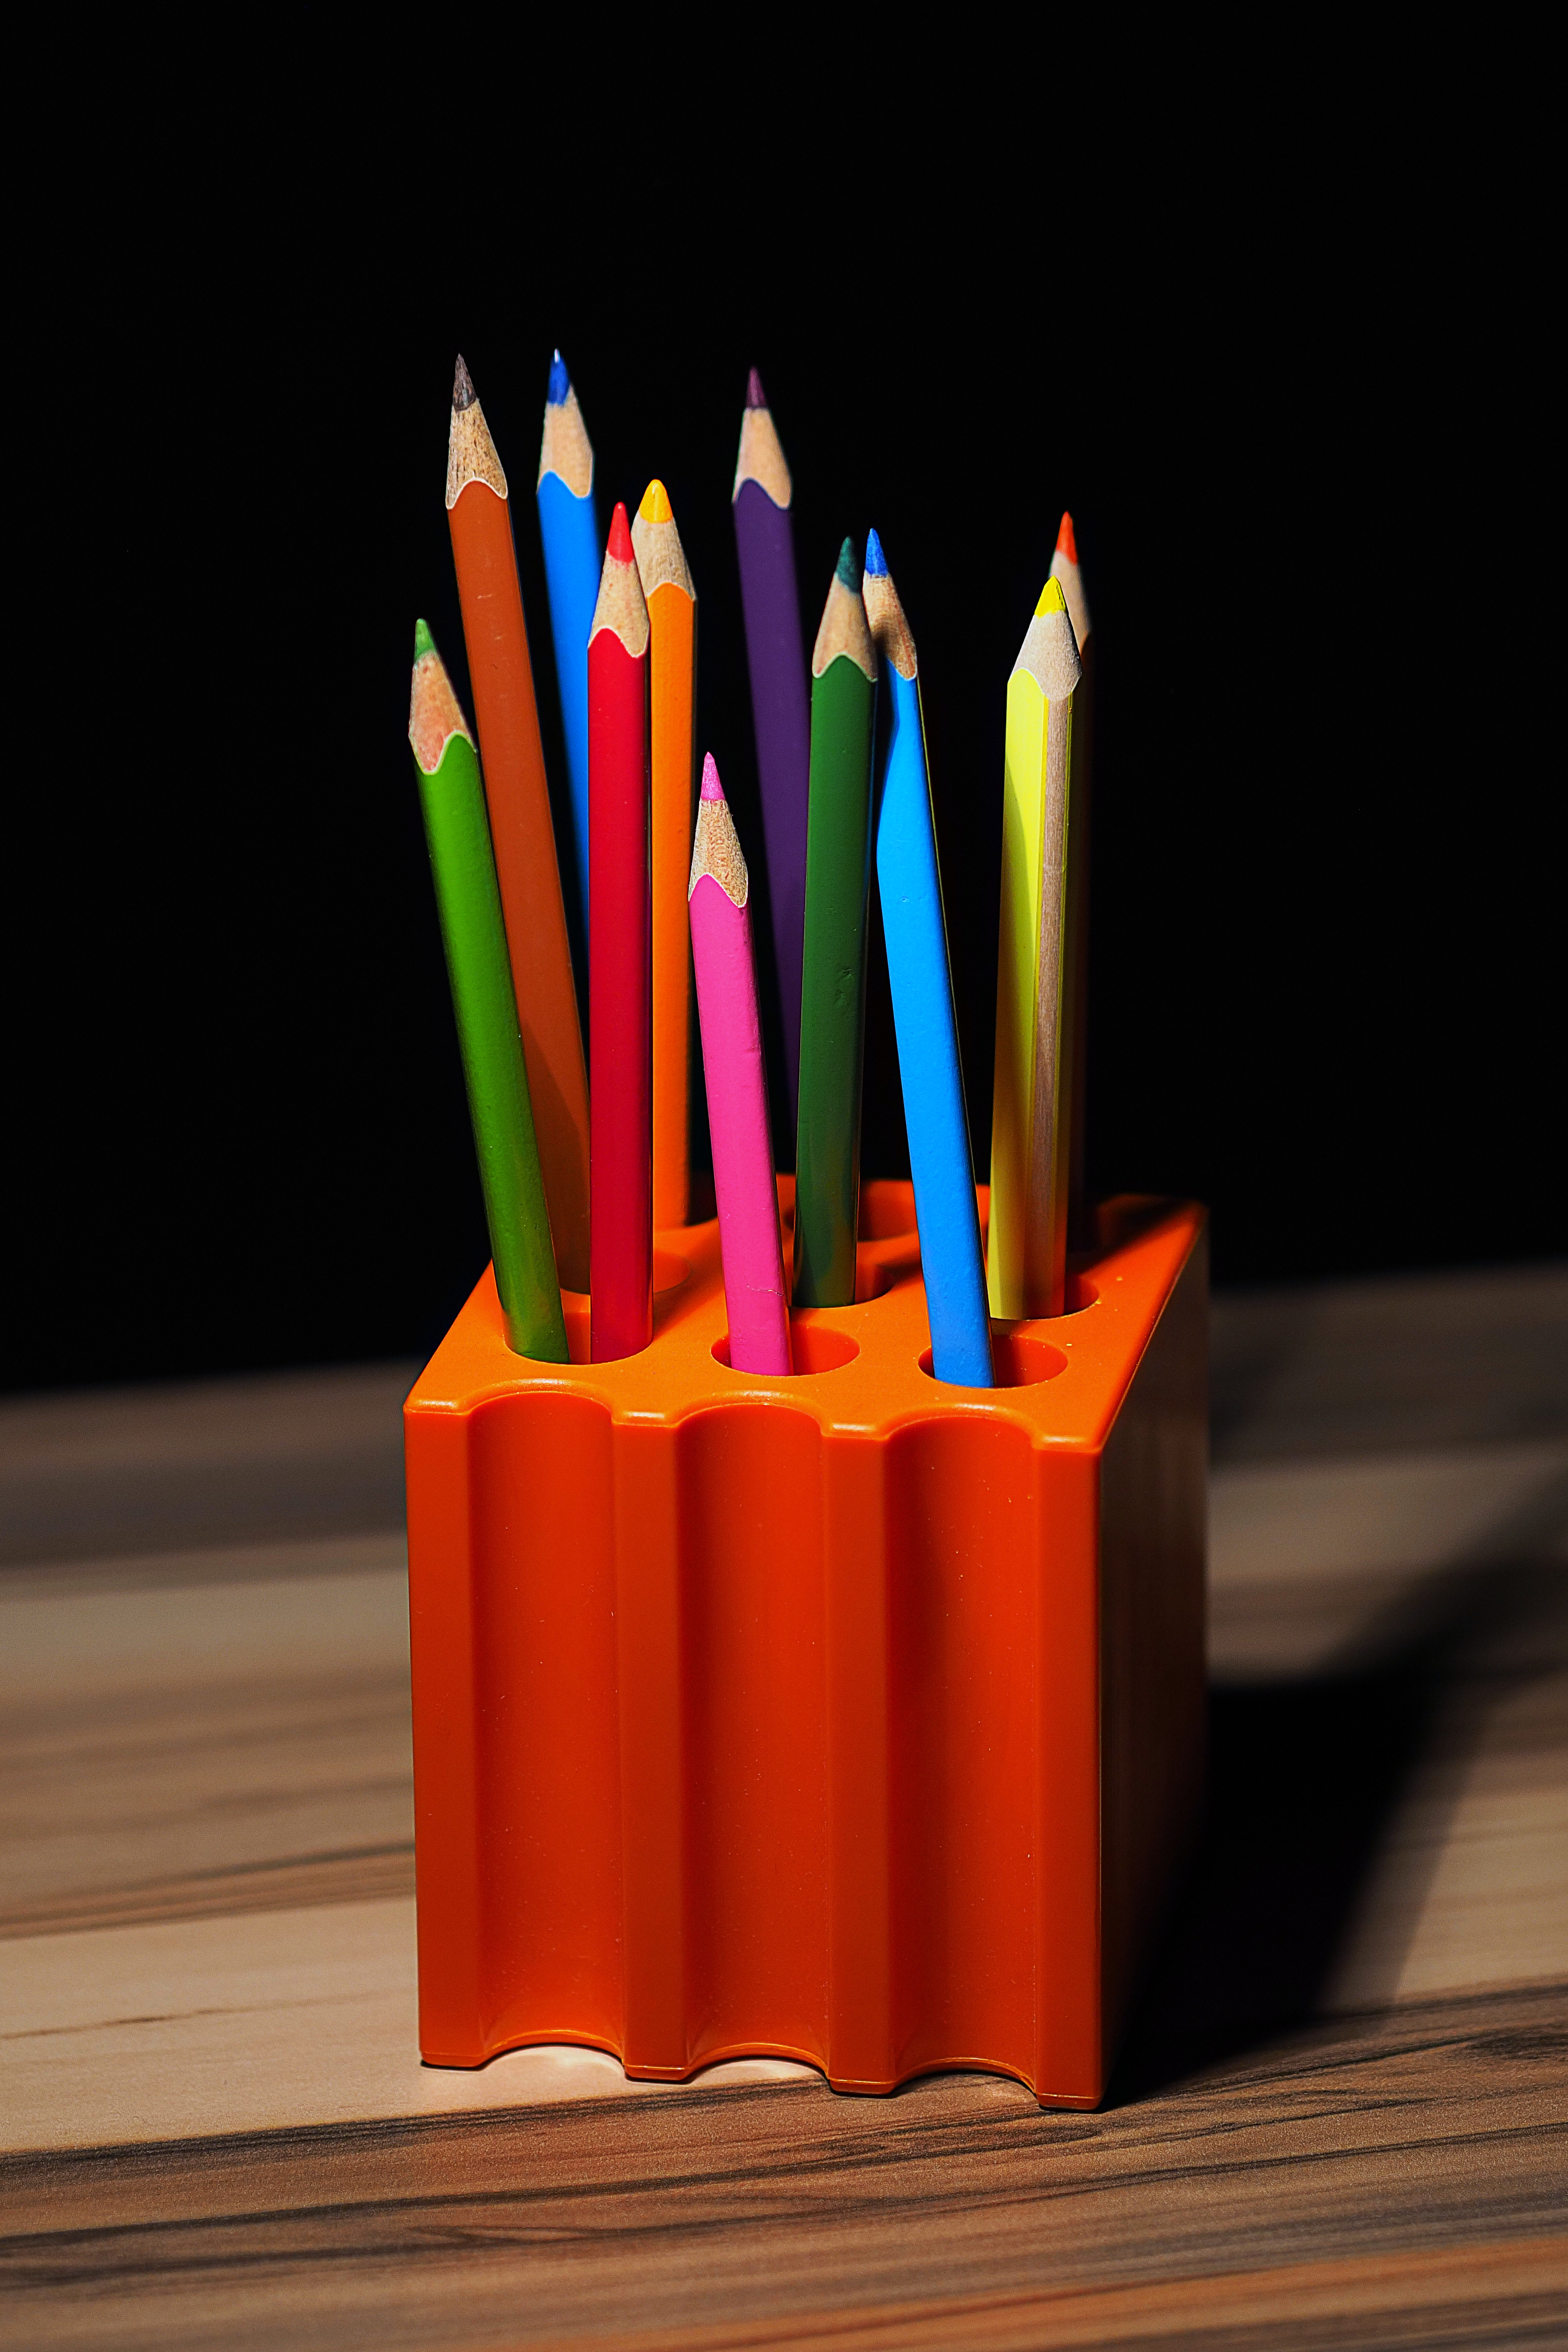
Why use colored pencils in portraits?
Colored pencils are useful when you want a portrait to feel a little more lifelike without losing the hand-drawn look. They work especially well for cheeks, lips, hair, clothing, and background accents. If you are building on graphite, they can also soften the overall mood without turning the piece into a heavy painting.
- Gentle color: easy to build slowly instead of jumping straight to bold hues.
- Control: good for small features like eyes, lashes, and hair strands.
- Mixable look: layering lets you create believable skin tones from a few pencils.
For a broader overview of portrait drawing basics, see our home page, and if you want more how-to articles, browse the blog. If you are considering a custom piece, the services page explains the portrait commission options.
How do you blend colored pencil smoothly?
Blending is where the magic happens. The short version is: use light pressure, build in layers, and keep your strokes moving in the same general direction. Heavy pressure too early can leave waxy patches that behave like they have a mind of their own.
- Start with a light base color.
- Add a second color in thin layers.
- Use a colorless blender or a very light pencil if needed.
- Burnish only at the end, once the form is already working.
Practical tip: test your skin tones on scrap paper first. A peach that looks friendly in the pencil box can go full neon-orange if you rush it.
Can you layer colored pencils over graphite?
Yes, and many artists do. Graphite is handy for structure and value, while colored pencil can bring warmth to the cheeks, lips, or clothing. The main thing is to keep the graphite layer light enough that it does not resist the colored pencil.
A simple workflow looks like this:
| Stage | What to do | Why it helps |
|---|---|---|
| 1. Graphite sketch | Map proportions and shadows lightly | Keeps the portrait accurate |
| 2. Early color layers | Add pale skin and hair tones | Sets the temperature without overcommitting |
| 3. Refine values | Deepen darks and soften edges | Improves depth and likeness |
| 4. Final highlights | Leave small paper highlights or lift gently | Makes eyes and skin glow naturally |
If you want a deeper look at choosing a good reference, our guide on photo preparation for commissions is a good companion read.
What problems do artists run into?
The common trouble spots are muddy color, harsh lines, and skin that looks too flat. Most of these problems come from the same root cause: going too dark too fast.
- Muddy color: limit how many layers you pile into one area.
- Streaky blending: use smaller strokes and a smoother paper surface.
- Flat skin tones: include cool shadows, not just warm midtones.
- Overworked paper: pause before the paper starts looking tired.
For a real-world color reference, the Denver Art Museum and Prismacolor’s graphite and drawing pencil guidance are useful starting points for understanding how materials affect tonal control. You can also read about pencil layering basics in colored pencil overview resources.
Practice suggestions
If you are new to colored pencils in portrait work, do not try to finish a masterpiece on day one. Start with one eye, one cheek, or a small crop of a face. That is enough to learn how the pencils behave, and it saves you from wrestling an entire head of hair at once, which is a surprisingly dramatic thing to do on a Tuesday.
Try these exercises:
- Make a value scale using one graphite pencil and two color pencils.
- Paint in tiny color swatches for skin, lips, and hair.
- Copy a small portrait photo and focus only on smooth transitions.
- Compare a graphite-only version with a mixed graphite-and-color version.
With a little practice, colored pencils can make your portraits feel warmer and more personal without losing the quiet charm of pencil work.
If you are ready to commission a portrait, visit the services page or return to the blog index for more guides.