Tips for Drawing Realistic Hair in Pencil Portraits
Hair is one of those portrait details that looks simple until you try to draw it. The answer is not to draw every strand. That road leads to a hatched mess and a longer afternoon than anyone deserves. Realistic hair comes from structure, value, and selective detail.
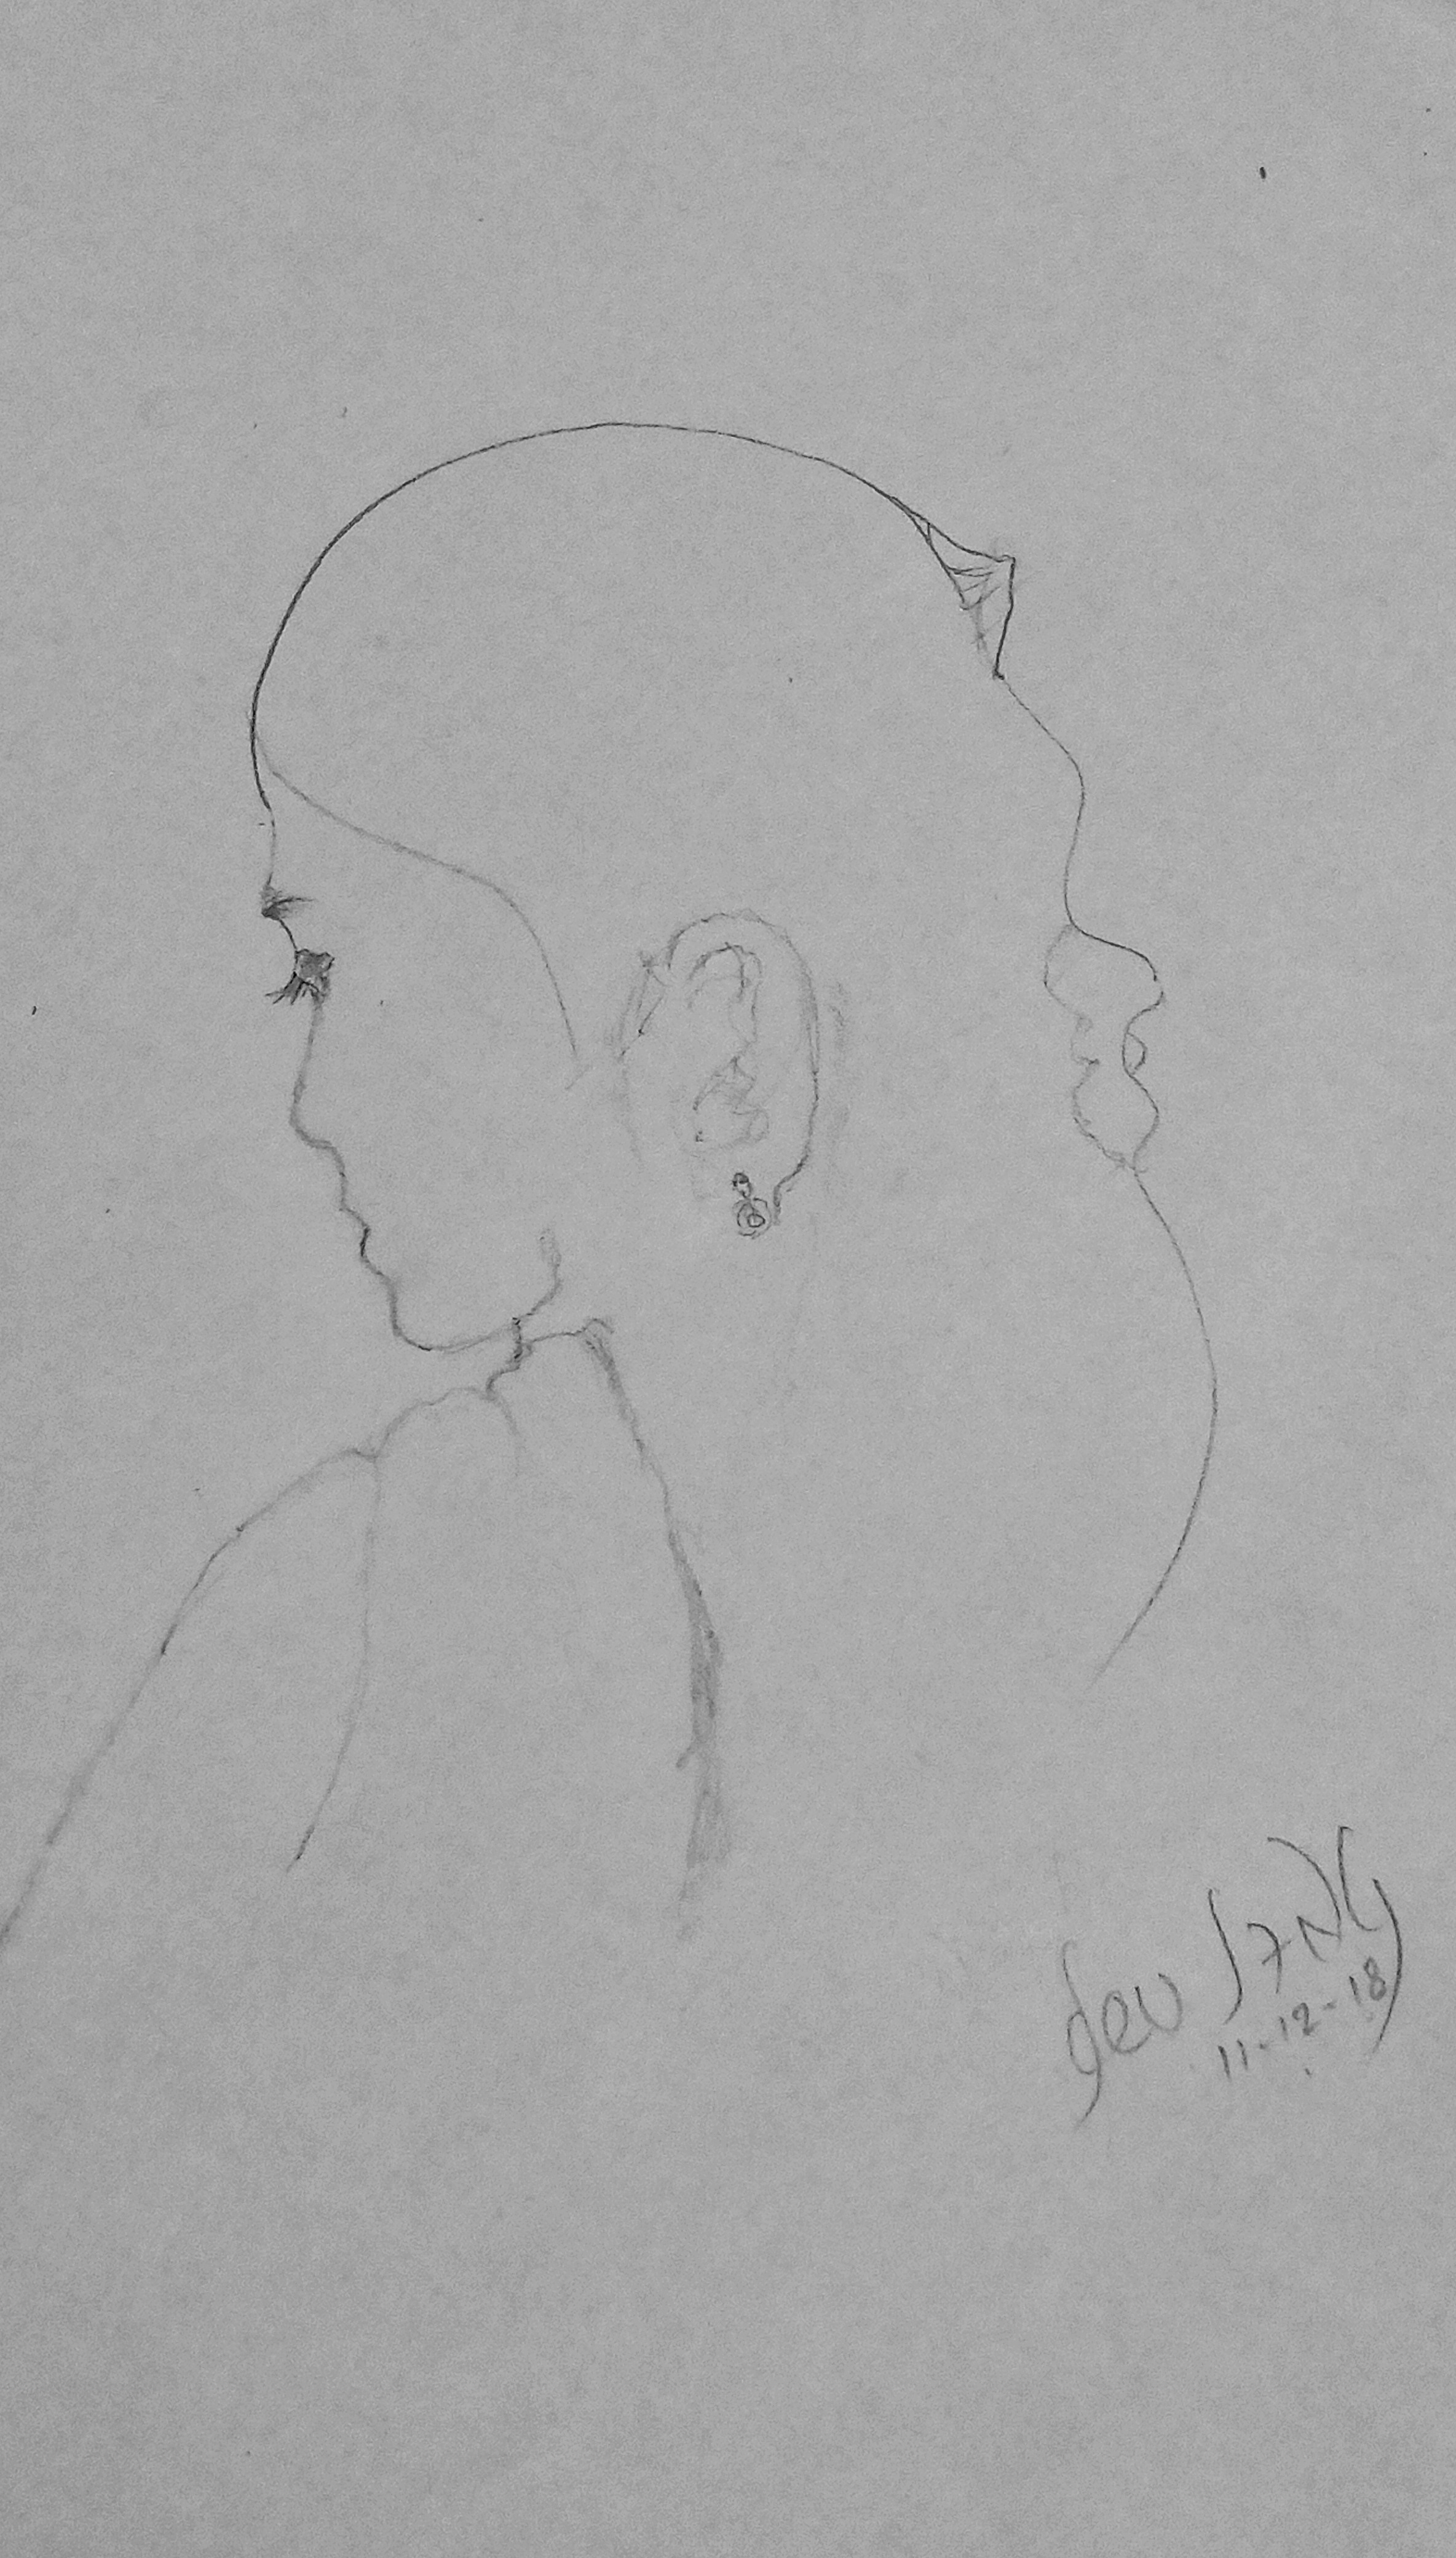
If you are building portrait skills, hair deserves the same discipline as the eyes and mouth. Start with the broad shape, observe how the light lands, and treat detail as a finishing decision, not a starting point.
1. Understand hair texture and type
Straight, wavy, and curly hair all move differently on the page. Straight hair usually reads as long directional flow with sharper highlights. Wavy hair breaks into larger bends and softer transitions. Curly hair creates repeated loops, compact shadows, and uneven highlight shapes.
The key is to observe the actual hair you are drawing. Reference photos help, but real hair under real light teaches more. Look at where the bright areas stop, where clumps overlap, and where the hair breaks into larger shapes. That is the structure you are actually drawing.
- Straight hair: emphasize clean directional lines and smooth tonal shifts.
- Wavy hair: break the silhouette into gentle sections and curved ribbons.
- Curly hair: build clustered forms first, then suggest texture inside the clusters.
2. Use shading to build depth
Hair volume comes from value changes, not from random linework. Use a light pencil for early mapping, then layer darker grades where the hair folds inward or overlaps itself. A harder pencil can help with cleaner underdrawing, while softer grades deepen shadow areas without forcing too much pressure.
Work in layers. Lay down the middle tone first, then deepen the shadow masses, then preserve or lift the highlights. That sequence keeps the drawing readable. If you begin with the darkest strands, the drawing can flatten fast.
A practical rule: render the shadow shapes before you render individual hairs. When the large value structure is correct, the texture has something to sit on.
| Hair area | What to emphasize | Technique |
|---|---|---|
| Highlight bands | Shape and continuity | Leave paper showing or lift graphite carefully |
| Midtones | Soft transitions | Layer lightly and follow hair flow |
| Shadow masses | Depth and overlap | Use darker pencil grades with controlled pressure |
3. Detail selectively, not everywhere
The best portraits do not describe every strand. They describe enough. Focus detail where the viewer’s eye needs it: around the face, along the part line, and in the most lit sections. Let less important areas soften or merge.
This keeps the portrait believable and prevents the hair from competing with the likeness. A portrait is not a hair catalogue. The face is still the business end of the operation.
4. Watch the light source
Hair can only look realistic if the light is consistent. Decide where the light is coming from before you get deep into texture. Highlights should sit on the same side of the form, and shadow shapes should obey the same direction across the entire head.
If the light source is vague, the drawing becomes vague. And vague portraits do not age well.
For a concise refresher on light and form in drawing, the graphite drawing techniques guide from Lee Hammond is a practical starting point. For a broader foundation on portrait structure and value, portrait drawing demonstrations from established art instructors on YouTube can be useful if you compare several approaches rather than copying one blindly.
5. Avoid the common mistakes
Three problems show up often:
- Over-simplifying the shape. Hair is not one flat helmet. Break it into sections and overlaps.
- Ignoring the light source. Random highlights make the drawing look decorative instead of solid.
- Blending everything into fog. Over-blending erases structure. Blend only where softness is actually needed.
When in doubt, step back and ask whether the hair is helping the portrait or stealing attention from it. That is the decision point that usually matters.
6. Practice exercises that actually help
Practice should isolate the problem. Do not draw a full head every time if you are only trying to improve hair texture.
- Texture studies: draw small swatches of straight, wavy, and curly hair.
- Photo studies: copy one section of hair from a reference photo, not the whole portrait.
- Timed drills: give yourself 10 minutes to map shadow shapes before adding detail.
- Value-only studies: use only light, middle, and dark tones to build form without chasing strands.
For portrait-reference discipline, the article on preparing a photo for a pencil portrait commission can help you choose references with clear lighting and usable hair detail. If you want to review the site’s broader portrait work, start at the homepage or browse more guidance on the blog. For commissioned portrait work, the services page gives the quickest path to the next step.
Conclusion and next steps
Realistic hair is built from observation, value control, and restraint. Learn the hair type, establish the light, lay in the shadows, and add texture only where it strengthens the portrait. That sequence produces cleaner drawings and fewer regrets.
Practice in short studies, compare different hair textures, and keep testing your control of edges and highlights. The artist who can simplify hair well usually gets the stronger portrait. The rest is just expensive pencil dust.
Useful external references: