How to Critique Your Own Pencil Portraits
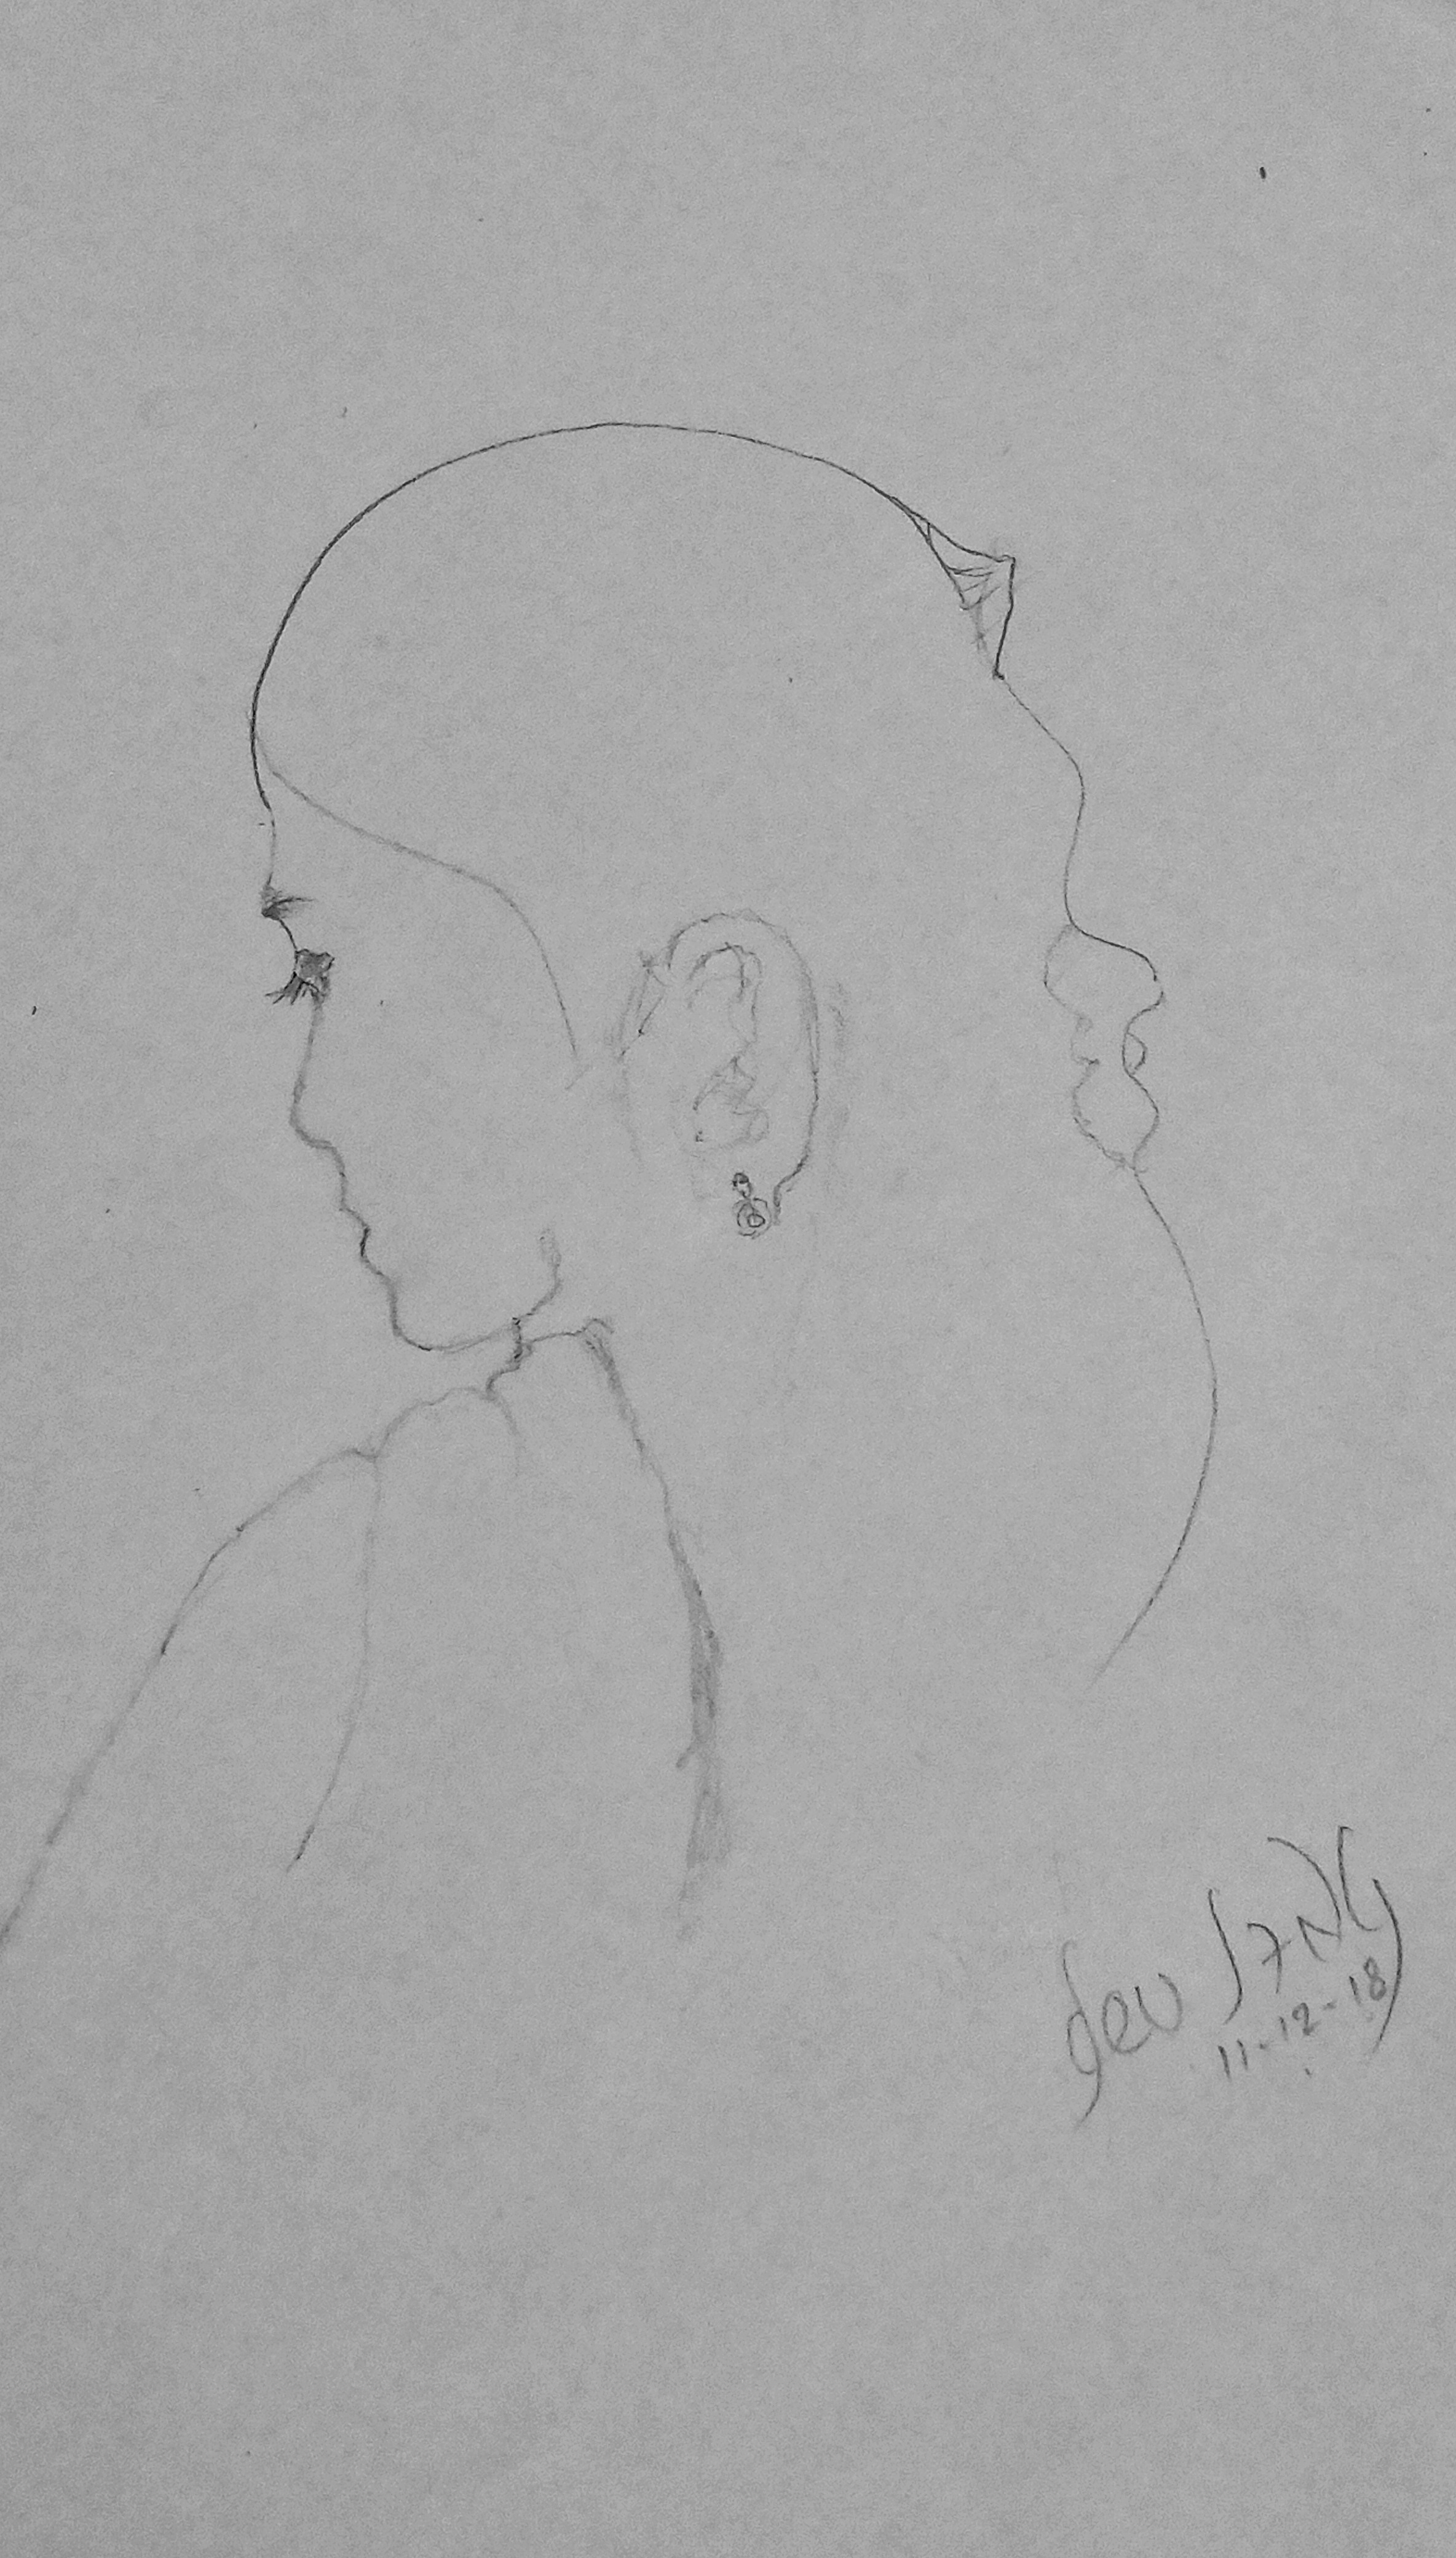
Self-critique is not about enjoying your own work less. It is about seeing it clearly enough to improve it. A portrait that looks finished at arm’s length may still miss proportion, value balance, or edge control when you look at it with fresh eyes.
If you want a reasonable default, use one rule: evaluate the drawing against the reference and against your intent, not against a vague feeling that it is “good” or “bad.” That keeps the process useful instead of theatrical.
Why self-critique matters
Portrait artists improve faster when they can separate the drawing from their attachment to it. Self-critique helps you:
- notice repeating mistakes before they become habits,
- identify what already works so you can repeat it,
- set priorities for the next drawing instead of fixing everything at once.
That last point matters. A useful critique ends with a decision, not a mood.
Techniques for evaluating your work objectively
Use a short process instead of trying to judge the whole portrait at once.
1. Step away before reviewing
Put the drawing down for a few hours if possible. Then look at it from a distance, or shrink it on screen if you photographed it. Distance makes proportion problems, uneven values, and awkward shapes easier to see.
2. Use a repeatable checklist
A checklist keeps the review consistent from one portrait to the next. For example:
- Are the proportions believable?
- Does the light source read clearly?
- Are the darkest darks dark enough?
- Are the edges soft where the subject turns in space?
- Does the texture support the subject instead of distracting from it?
If you want a broader portrait workflow, the blog contains related practice articles, and the homepage is the best place to return to the site’s main portrait offerings.
3. Compare the drawing to the reference in parts
Do not ask whether the face “looks like the person” until you have checked the smaller decisions that create likeness. Compare the eyes, nose, mouth, head tilt, and spacing one at a time. Likeness is usually built, not guessed into existence.
4. Ask a second pair of eyes
A peer or mentor can catch blind spots you have stopped noticing. Ask for specific feedback, not a general opinion. Better questions are:
- Where does the proportion feel off?
- Which area reads as too flat?
- What should be simplified first?
Common criteria to check in a pencil portrait
| Criterion | What to look for | Common warning sign |
|---|---|---|
| Proportion | Spacing, angle, and relative size of features | One feature feels correct by itself but not in relation to the face |
| Light and shadow | Clear value structure and consistent light source | The portrait looks muddy or evenly lit everywhere |
| Edges | Varied transitions: hard, soft, and lost edges where needed | Every edge has the same sharpness |
| Texture | Hair, skin, fabric, and background feel distinct | Too much detail in one area and too little structure in another |
| Overall focus | The viewer’s eye knows where to land first | No clear focal point |
How to turn critique into improvement
Good critique creates a next step. Bad critique creates a vague promise to “do better.” Decide what to change next based on the most important weakness, not the loudest one.
Use measurable goals
Instead of saying, “I need better shading,” set a goal like this:
- In the next three portraits, build a full value scale before adding detail.
- In the next two studies, check facial proportions with a grid or alignment marks before shading.
- In the next week, redraw one eye twice to practice edge control and shape accuracy.
Prioritize one skill at a time
If you try to fix proportion, texture, likeness, and finishing touches all at once, you usually fix none of them well. Pick the weakest link and make that your training target for the next round of work.
Set a timeline
A timeline gives the critique structure. For example: review after each portrait, summarize one lesson, and apply it to the next drawing within seven days. Small loops beat heroic intentions. They also tend to survive contact with reality.
Checklist: a simple self-critique routine
- Step back from the drawing for a short break.
- Compare the portrait to the reference image.
- Check proportion, values, edges, and texture.
- Write down one strength and one weakness.
- Set one concrete goal for the next portrait.
For additional guidance on portrait practice and materials, the blog archive is a useful place to continue learning. You can also compare your current work with the finished portrait examples on the main site to keep your standards grounded in real outcomes.
External resources
- National Gallery learning resources for drawing and observation practice.
- Royal Academy guide to drawing basics for observational habits that support critique.
- Artists Network drawing articles for practical exercises and technique refreshers.
- Drawing overview on Wikipedia for a broad reference point on drawing practice.
Keep the process simple: evaluate, record, adjust, repeat. That is enough structure to make self-critique useful without turning it into a ritual of self-accusation.