How to Frame Your Pencil Portraits for Display
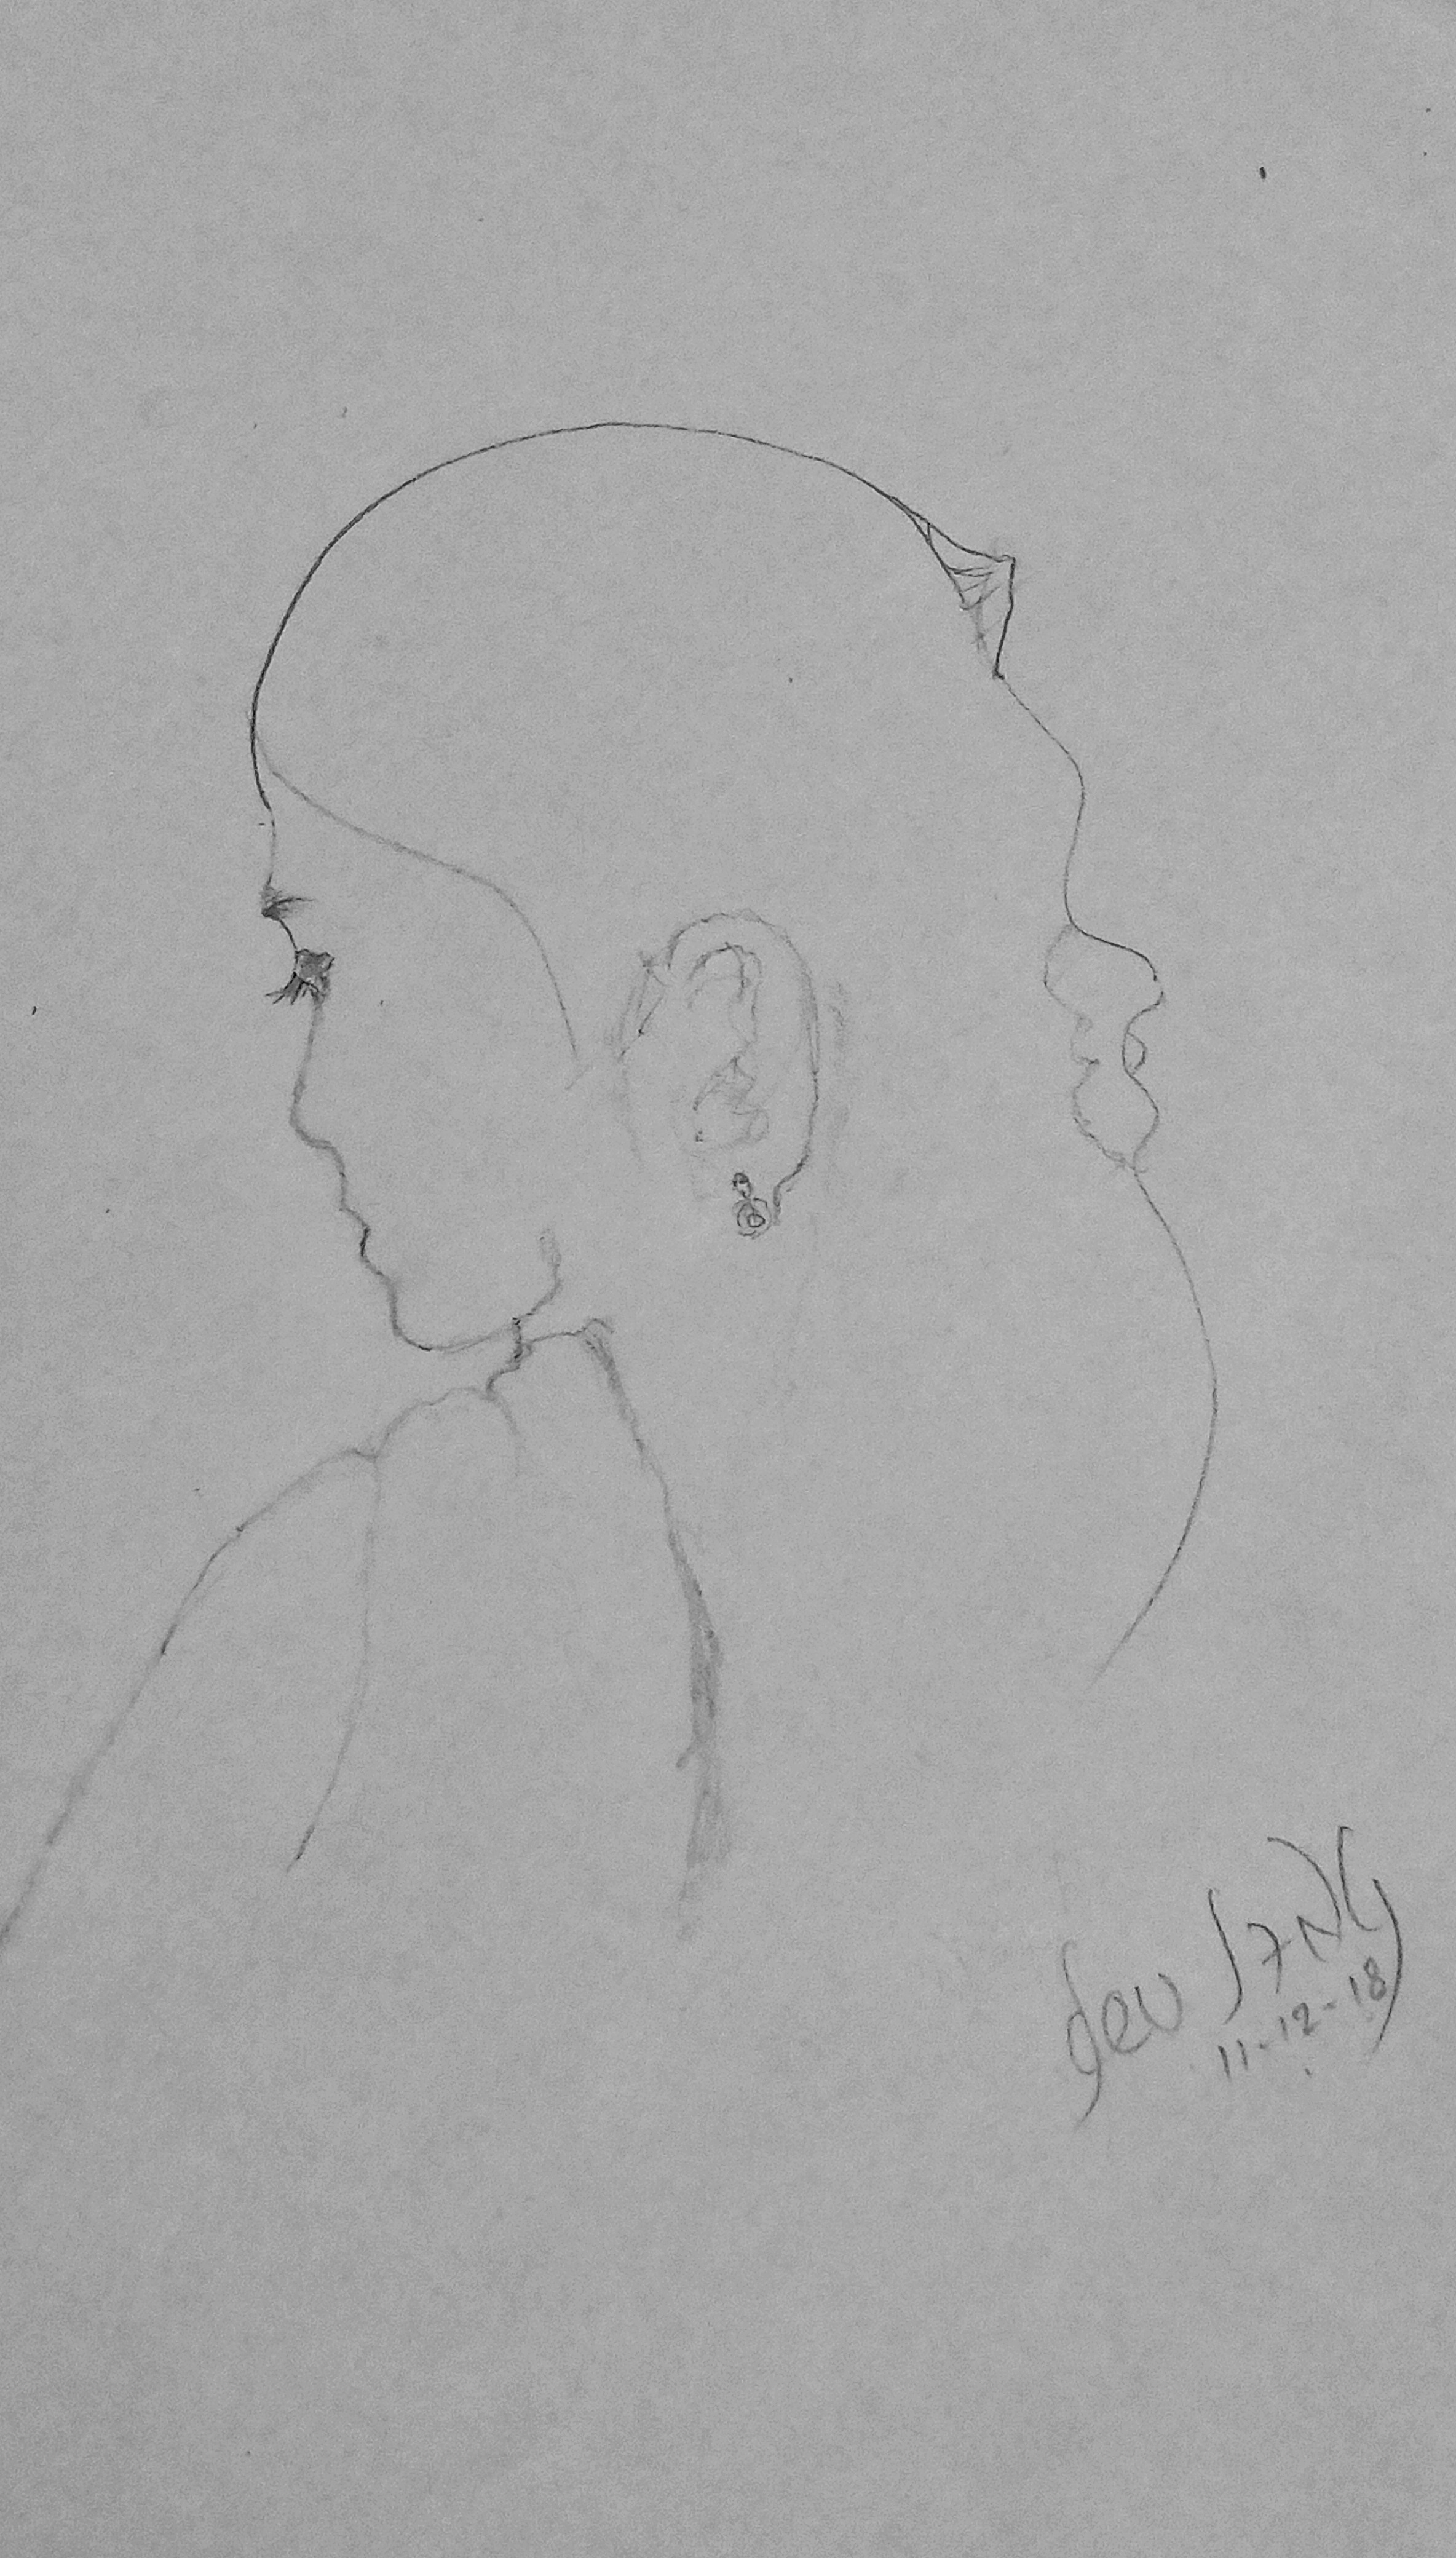
Framing isn’t just decoration. Done well, it makes your pencil portrait look more polished and helps protect the artwork from everyday damage-light, dust, and accidental bumps included.
This guide is for beginners and for anyone who’s already framed one portrait… and learned the hard way that “close enough” isn’t always level.
By the time you’re done, you’ll know what to choose for the frame and mat, how to hang it safely, and how to keep the finished drawing looking its best.
1. Choosing the Right Frame
Your frame sets the tone, but it also affects how your portrait is supported and protected.
Match the style (and the room)
- Pick a frame style that complements the portrait’s mood and your space. Simple, neutral frames often work beautifully for pencil portraits.
- Consider the finish: warm wood can feel classic; black or dark metal can look crisp and modern.
Choose durable materials
- Solid wood or quality metal frames tend to stay true over time.
- Be wary of flexible or thin frames if your display area has temperature swings.
Give the art room to rest
Good framing shouldn’t press the portrait against the glass. The mat and backing should keep the artwork flat and comfortably supported.
2. Matting Options
Matting is the quiet hero of framed artwork. It adds a visual buffer and prevents direct contact between the paper and the glazing.
Why matting matters
- Protection: it keeps the paper from touching the glass or acrylic.
- Presentation: it gives your portrait breathing room and draws attention to the face.
Choose mat colors that support the drawing
Pick a mat color that complements the artwork without stealing the spotlight:
- Graphite portraits: clean white, soft off-white, or a light warm gray usually look timeless.
- Colored pencil portraits: consider a mat that matches the artwork’s tonal range-neutral and not too bright.
Texture is optional (keep it subtle)
A smooth mat looks crisp. A lightly textured mat can add warmth. If you’re unsure, go simple-your portrait should be the star.
Mounting matters more than people think
Ask your framer (or check what your supplies specify) about using archival, conservation-minded materials. The goal is to secure the art without leaving permanent damage.
3. Hanging Techniques
Hanging can be easy, until the frame is heavier than expected-or the portrait ends up higher than it looked on the website preview… which is how most of us learn.
Use hardware that matches the weight
- Check the frame weight and use wall hooks or brackets rated for that load.
- If your frame has wire or D-rings, attach the method that lets the artwork hang level.
Pick a viewing height
A practical rule: place the portrait so the eyes are roughly at eye level for most people in the room. (In a kid’s room, that usually means “a little lower”-no judgment, just gravity.)
Step-by-step: hang it level and safely
- Measure your frame and decide the final placement height.
- Mark lightly with a pencil where the hardware will go.
- Use a level before drilling or hammering anything in place.
- Hang, then double-check alignment once the weight is on the wall.
If you’re hanging multiple pieces, consider laying them out on the floor first so spacing feels intentional-not like they escaped from a craft store at random.
4. Protecting Your Artwork
Pencil portraits are delicate: paper can shift, graphite can smudge, and sunlight can fade tones over time. Framing is your first line of defense.
Shield from UV light
UV-protective glass or acrylic helps reduce fading from sunlight. If your portrait will be in a bright room, this is a worthwhile upgrade.
Control temperature and humidity
- Avoid direct sun and harsh spotlights that heat the glazing.
- Try to keep humidity stable. Big swings can cause paper to warp.
- Choose a calmer wall location away from kitchens, bathrooms, or exterior doors where conditions change.
Clean in the safe way
Dust the frame regularly. For the artwork itself, avoid touching it. If cleaning is needed, handle only the glazing surface and follow the glazing manufacturer’s directions.
5. Conclusion
Framing is an essential step in displaying pencil portraits beautifully and safely. When you choose a supportive frame, add matting thoughtfully, hang with secure hardware, and protect against light and environmental swings, your portrait can stay a lasting piece of wall art.
Next practical step: measure your portrait (including any mat opening you want), then compare two framing options-one focused on UV protection and one focused on classic simplicity. Either way, make sure the paper won’t press against the glazing.