Practice is the quiet ingredient that turns “I hope I’ll get better” into visible, repeatable improvement. If you draw portraits from photos, you already know talent helps-but it’s practice that builds the control to capture likeness, value, and expression.
When you search for portrait practice advice, you’re usually asking questions like: How often should I practice? What should I practice so it actually transfers to portraits? And how do I know I’m improving (besides “it feels harder today”)? According to research on deliberate practice, skill grows fastest when practice is focused, feedback-aware, and repeatable-especially compared with vague “just do your best” sessions. You’ll also see this echoed in artist learning guidance from places like the science of deliberate practice?utm_source=pencil-portrait-drawing-artist.com.
That matters for pencil portrait drawing because portraits are a chain of small visual decisions: proportion, edges, shading, and how the face communicates emotion. Consistent practice shortens the learning curve-so the next pencil stroke is less guessing, more knowing what to do next. In this guide, I’ll walk you through a realistic routine, a way to track progress, and how to handle the usual plateaus.
By the end, you’ll have a simple practice plan you can start this week, plus a few “if this happens, do that” adjustments for when your drawings stop improving.
Why practice is essential
Practice does three important things:
- It builds automaticity. Your hand learns familiar motions (like mapping shadows into shapes) so you can spend attention on the face, not the mechanics.
- It trains perception. With repetition, you get better at seeing value ranges, subtle asymmetry, and edge control.
- It creates feedback loops. You can’t improve what you can’t compare-practice gives you “before and after” evidence.
It helps to name what you’re practicing. “Draw more” is too vague. Try thinking in skills:
| Portrait skill | What you practice | What should get easier |
|---|---|---|
| Proportions | Measuring and mapping landmarks | Placing features with fewer corrections |
| Value | Shading small regions consistently | Building believable depth faster |
| Edges | Choosing where to soften vs. sharpen | Skin looks less “flat” |
| Expression | Studying mouth/eyebrow shapes | More emotion, less “same face” |
Setting up a practice routine
You don’t need hours. You need consistency. A practical starting point is 5-6 focused sessions per week, even if they’re short.
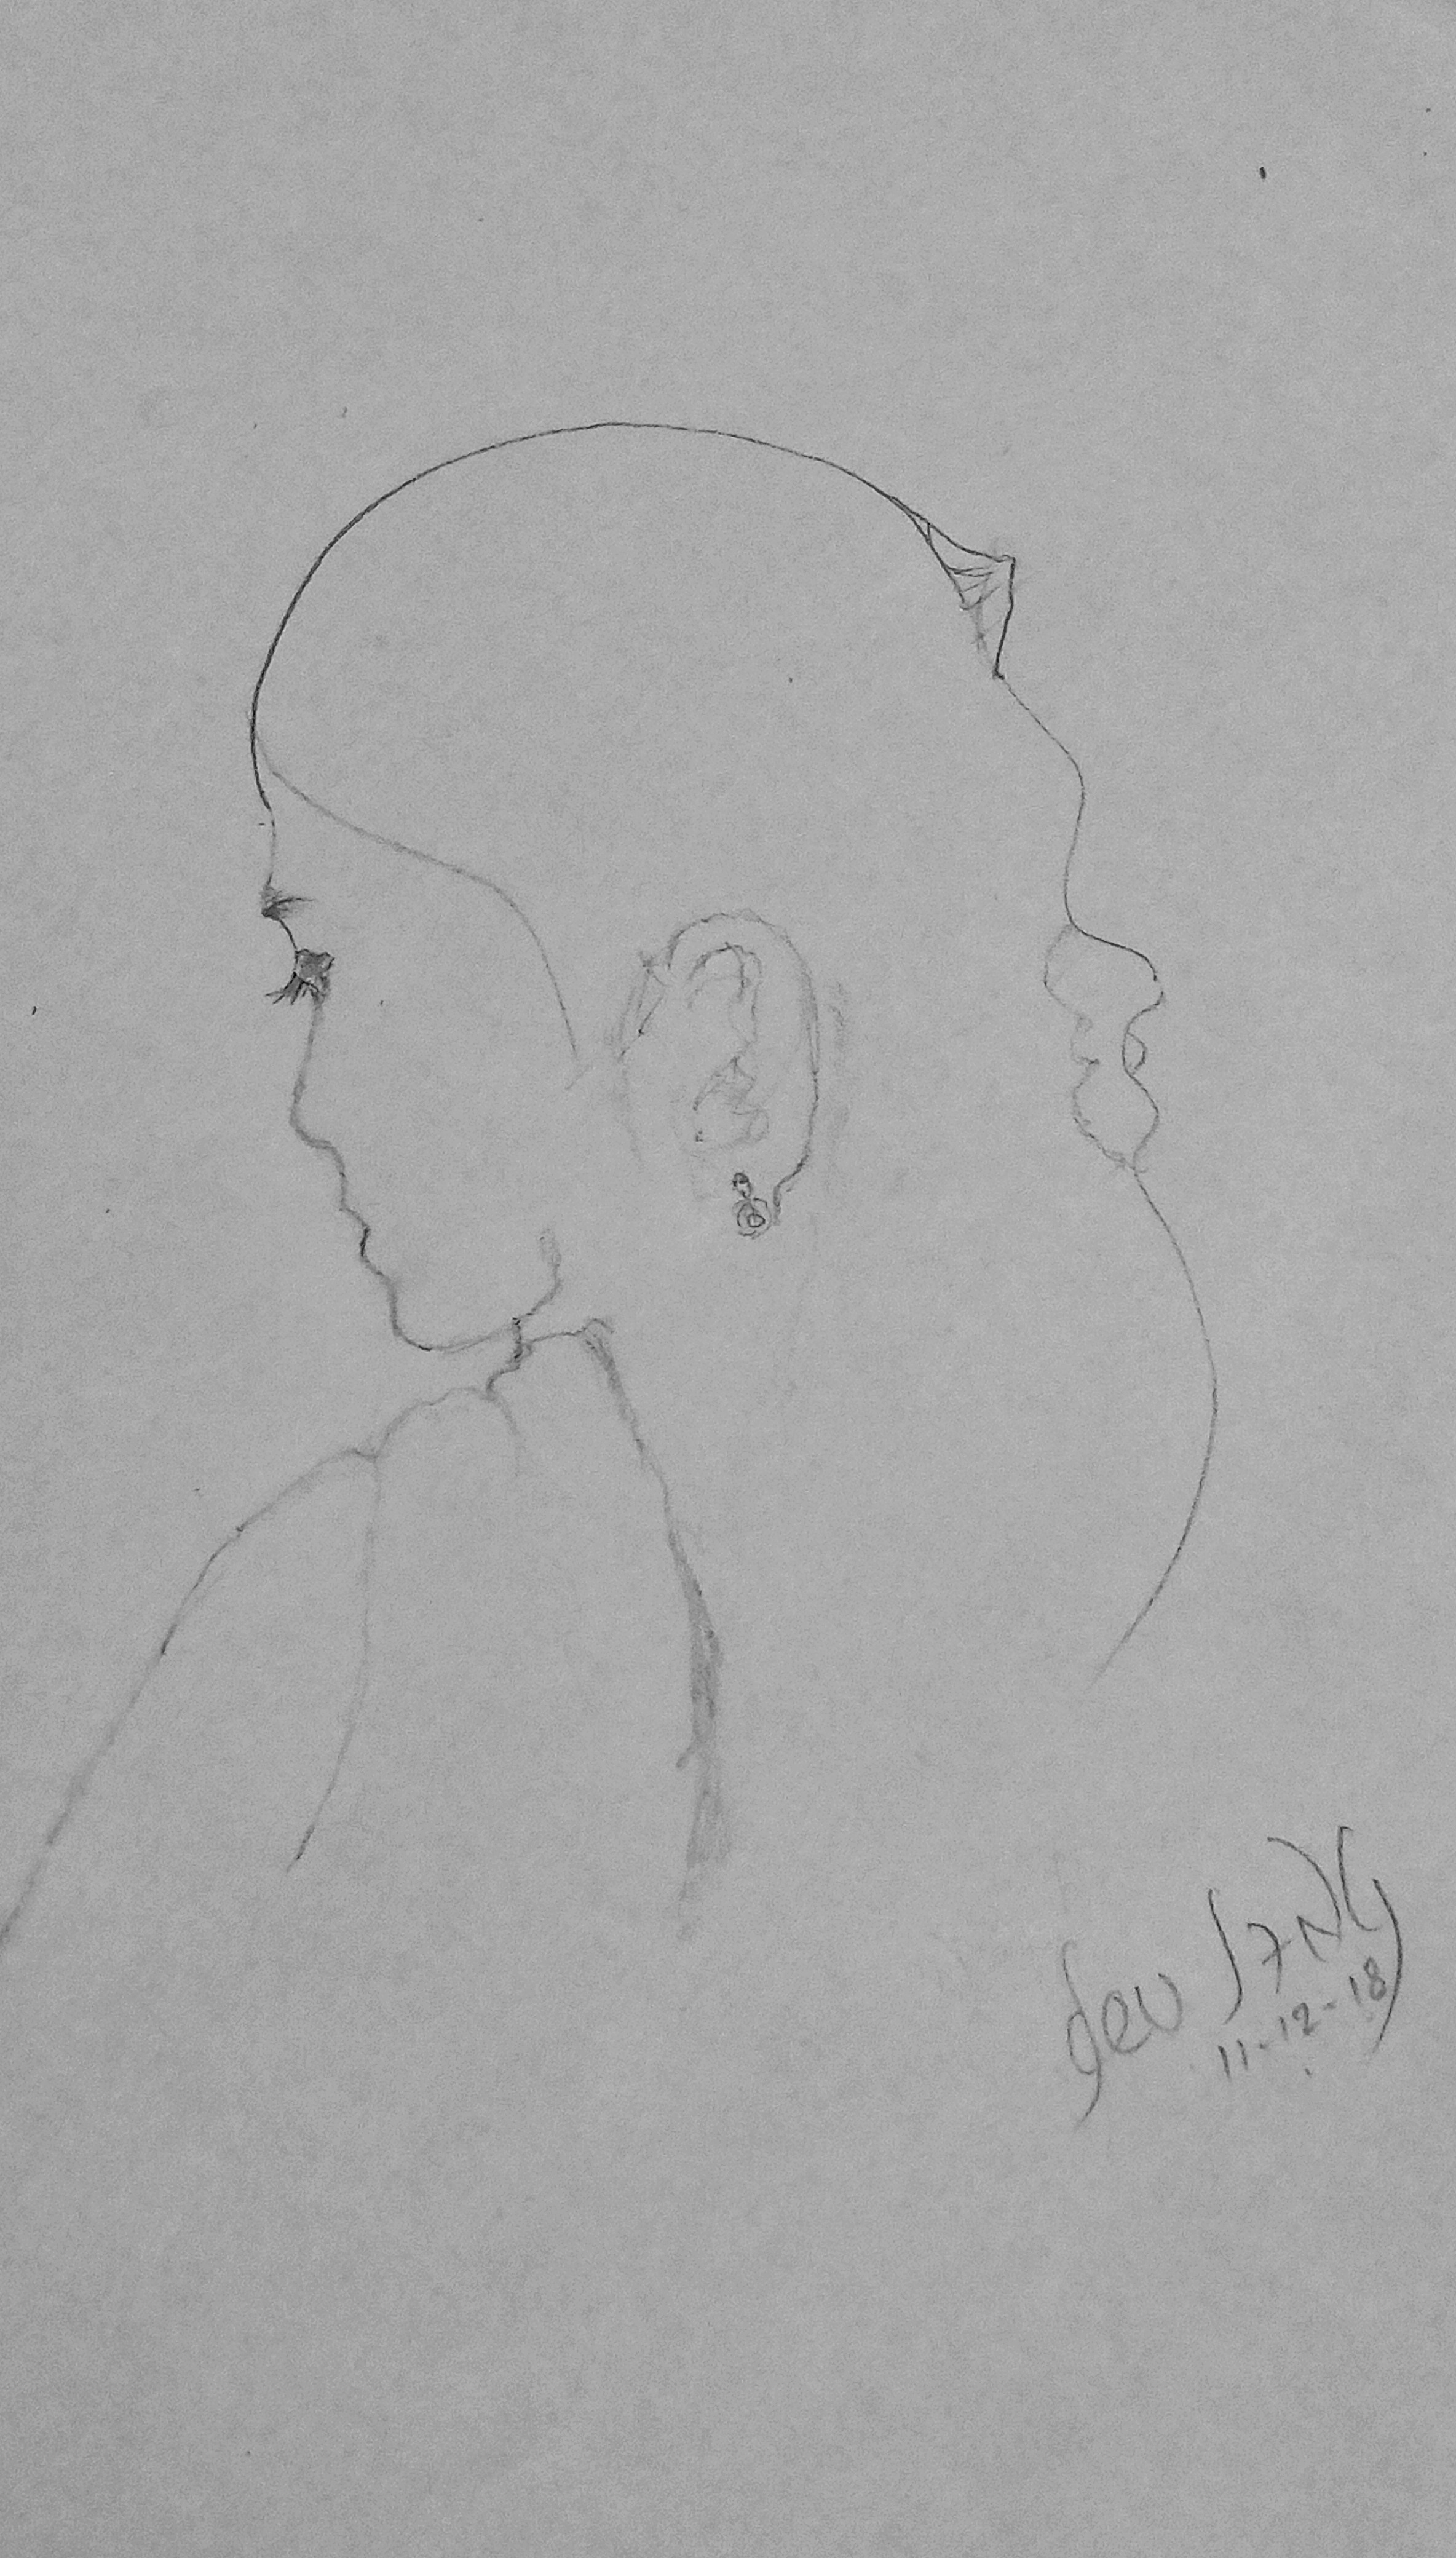
A simple weekly plan (low stress, high payoff)
- Day 1: 10-15 minutes of value studies. Pick one photo reference and do 3 small shading samples (light, mid, shadow).
- Day 2: 10-20 minutes of proportion mapping. Use light marks to place eyes, nose, and mouth-don’t shade yet.
- Day 3: 15-30 minutes of an “edge” focus. Decide where edges are soft and where they’re crisp.
- Day 4: 15-30 minutes of expression practice. Copy only the mouth and eyebrows first; then add the rest.
- Day 5 (optional): a mini portrait. One quick portrait pass-goal is effort, not perfection.
Tradeoff to accept: if you wait for motivation, you’ll lose momentum. If you practice in small sessions, your progress compounds even when you’re tired.
Tracking progress
Tracking doesn’t have to be complicated. Your goal is to measure something specific, so you can see improvement even when the overall drawing still isn’t “perfect.”
Use a progress log with 3 checkpoints
- Checkpoint A (start): On your first 5 minutes, write one sentence: “Today I’m working on values around the cheek.”
- Checkpoint B (mid): At minute 15, take a photo of your work or note what looks off.
- Checkpoint C (end): Rate one thing on a 1-5 scale: proportions accuracy, value range, or edge control.
After 2-4 weeks, compare only the specific checkpoint you tracked. That keeps you from judging progress by the “final result” alone, which can be misleading.
Borrow a tool for feedback
If you want a structured self-review method, consider checking guidance like deliberate practice?utm_source=pencil-portrait-drawing-artist.com, which emphasizes targeted practice and feedback. You can apply the same idea by forcing your sessions to have a single focus and a simple rating.
Overcoming challenges
Challenge 1: Your drawings look worse at first
That’s common when you start focusing on fundamentals (values, edges, measurement). Your “old style” shortcuts no longer work, so it feels like you’re going backward.
What to do: reduce the drawing size. Practice the skill in a small area first-like shading under one eye-then expand.
Challenge 2: You hit a plateau
Plateaus happen when your practice becomes comfortable. If sessions look similar, your brain stops reaching for new details.
What to do: change just one variable for a week-either a different reference angle (front vs. three-quarter), or a shorter session with stricter focus (value only, no facial detail).
Challenge 3: Life interrupts your routine
That’s not failure. It’s scheduling. The trick is to protect the habit with a minimum version.
What to do: keep a “minimum session” ready-10 minutes of value thumbnails from one photo. When you return after a break, you’ll be reactivated instead of starting from zero.
Conclusion
Consistent practice is how pencil portrait drawing stops being mysterious and starts becoming measurable. Start small, pick one focus per session, and track progress using a few checkpoints-not just the final “finished” look.
- Practice builds control through repetition and feedback.
- Use a simple weekly plan with short, focused sessions.
- Track one skill at a time so improvement stays visible.
- Expect early struggle and plateaus-then adjust one variable.
If you want more portrait learning steps, browse the blog at /blog/ or revisit the website home at the homepage.